Solar energy systems require reliable safety measures to protect both the equipment and the people working with it. One vital safety component employed in these systems is the disconnect switch, also known as an isolator switch. This article will provide a comprehensive overview of disconnect switches, their operation, installation, use, and testing. By the end of this article, you should have a thorough understanding of the importance of disconnect switches in solar energy systems and how to effectively manage them.
What is a Disconnect Switch?
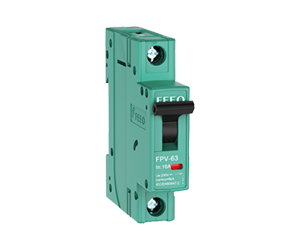
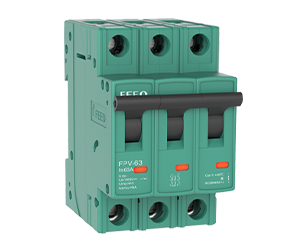
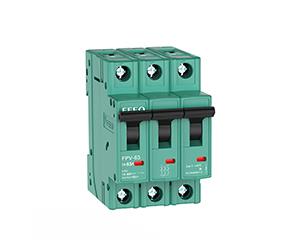
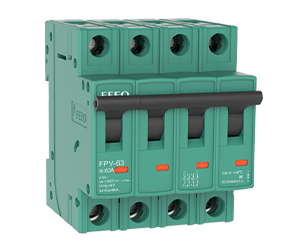
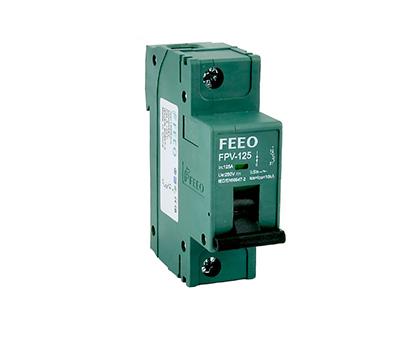
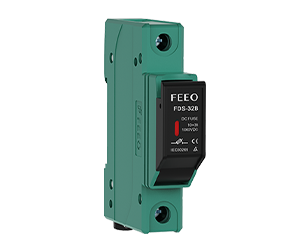
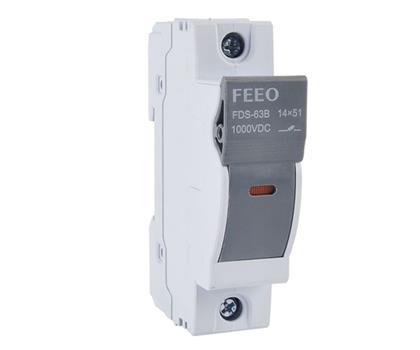
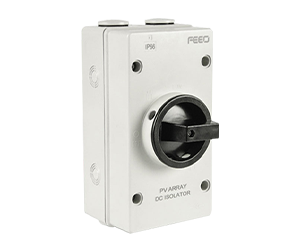
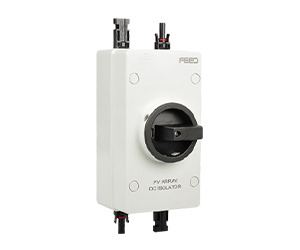
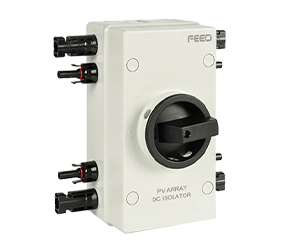
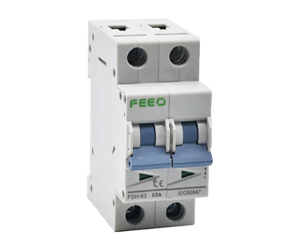
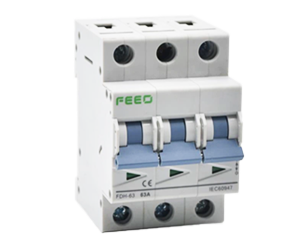
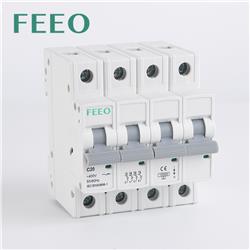
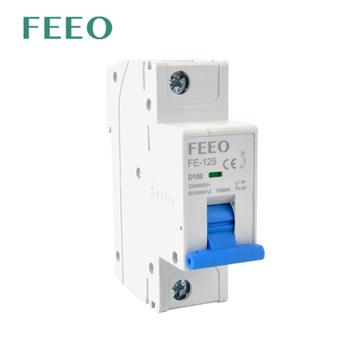
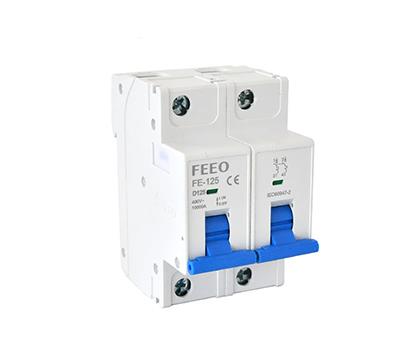
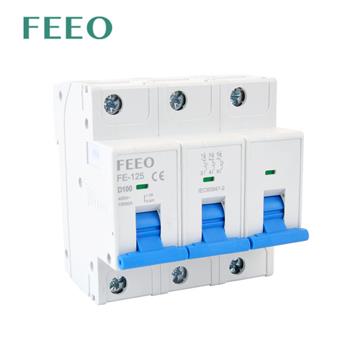
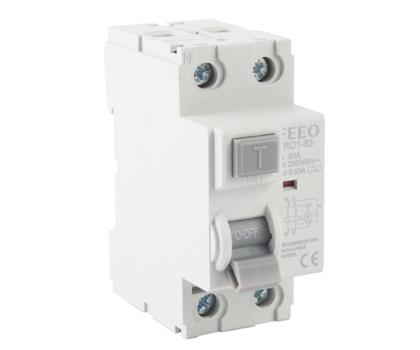
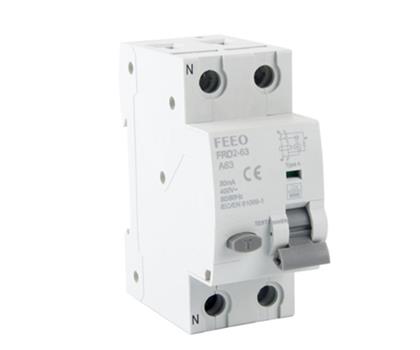
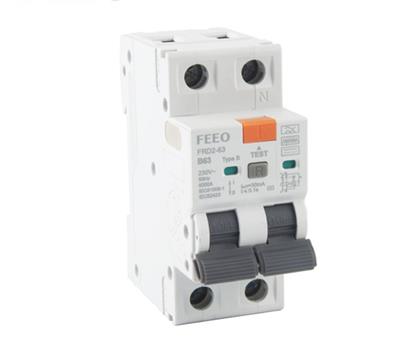
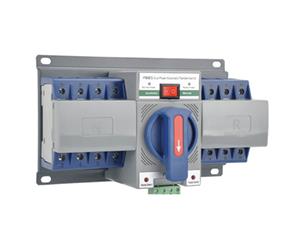
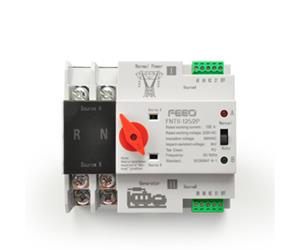
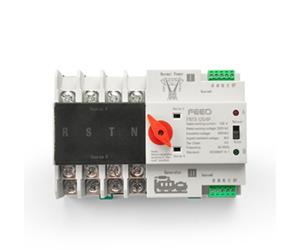
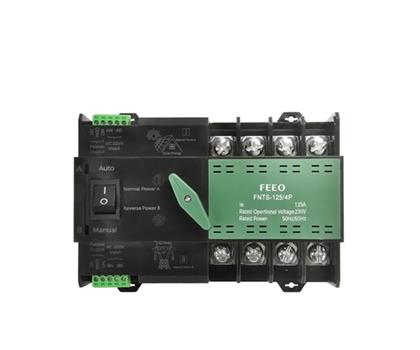
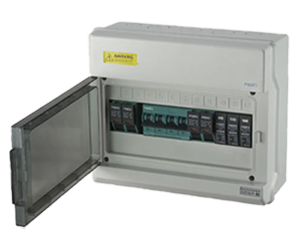
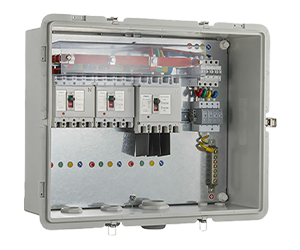
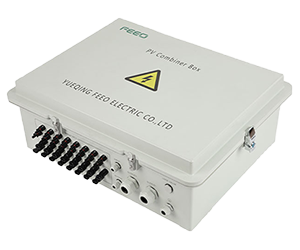
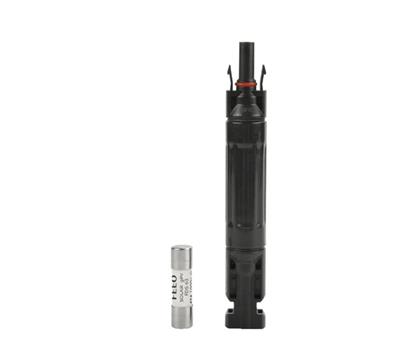
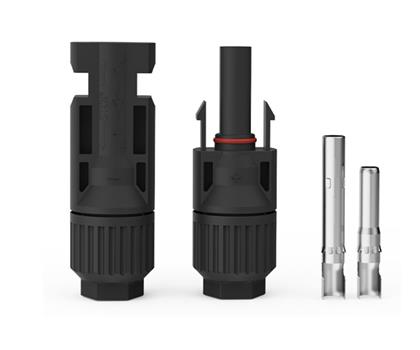
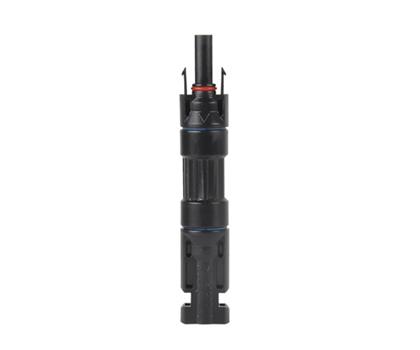
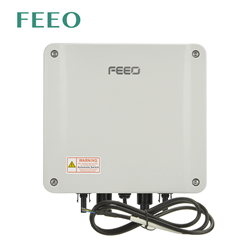
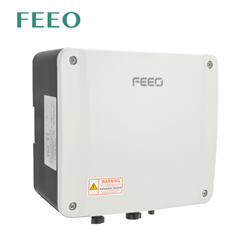
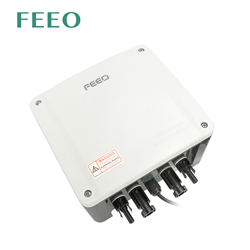
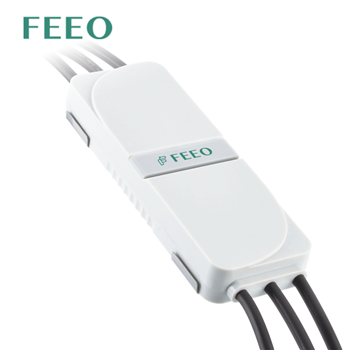
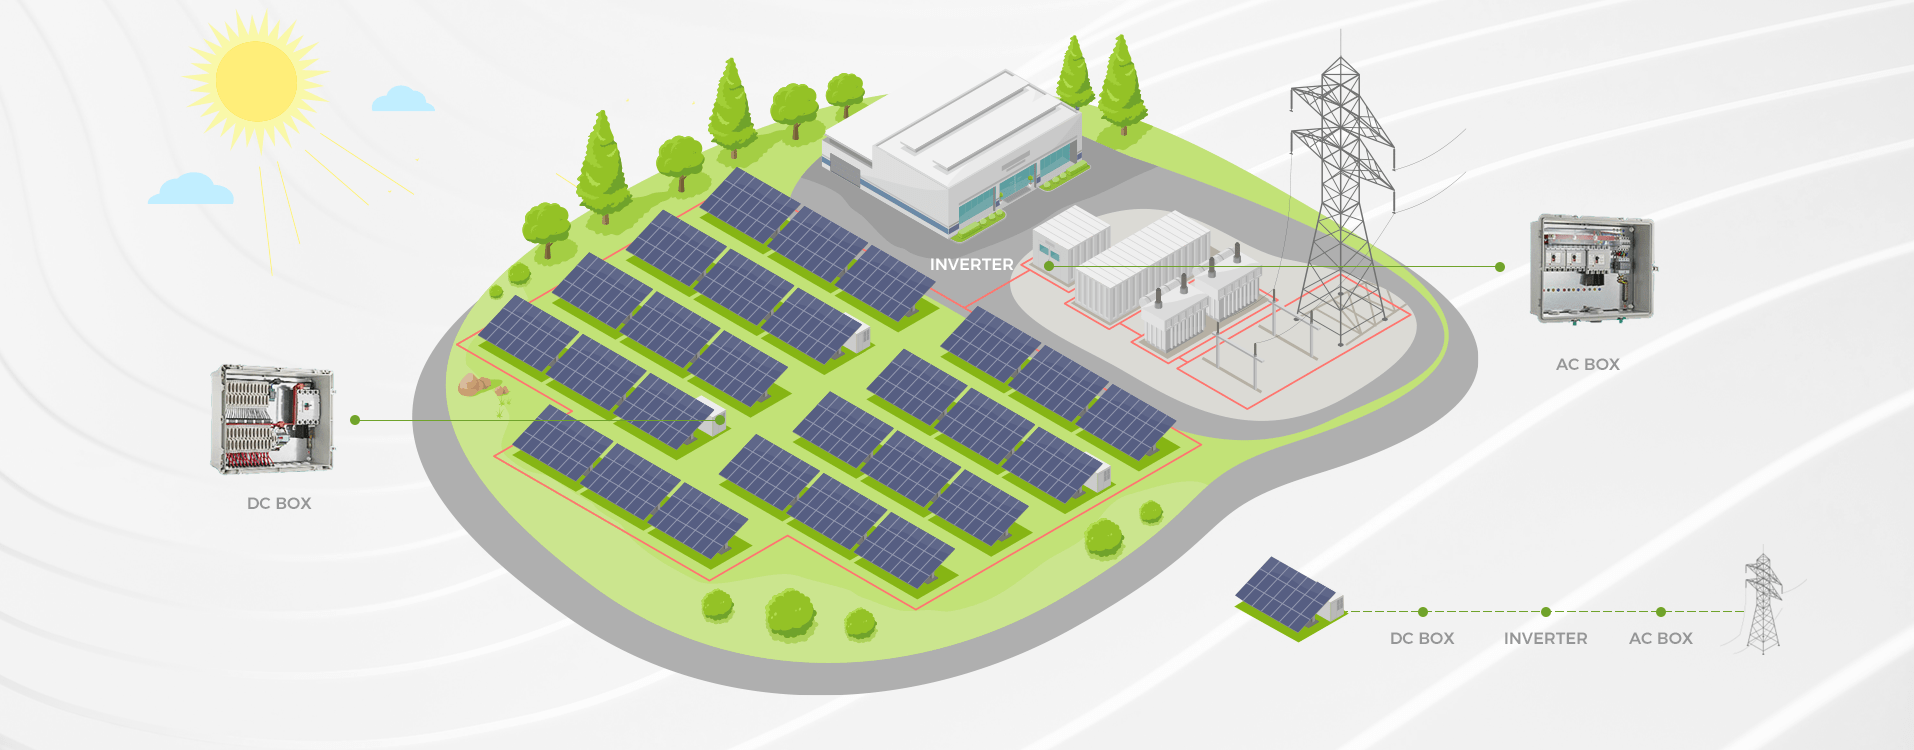
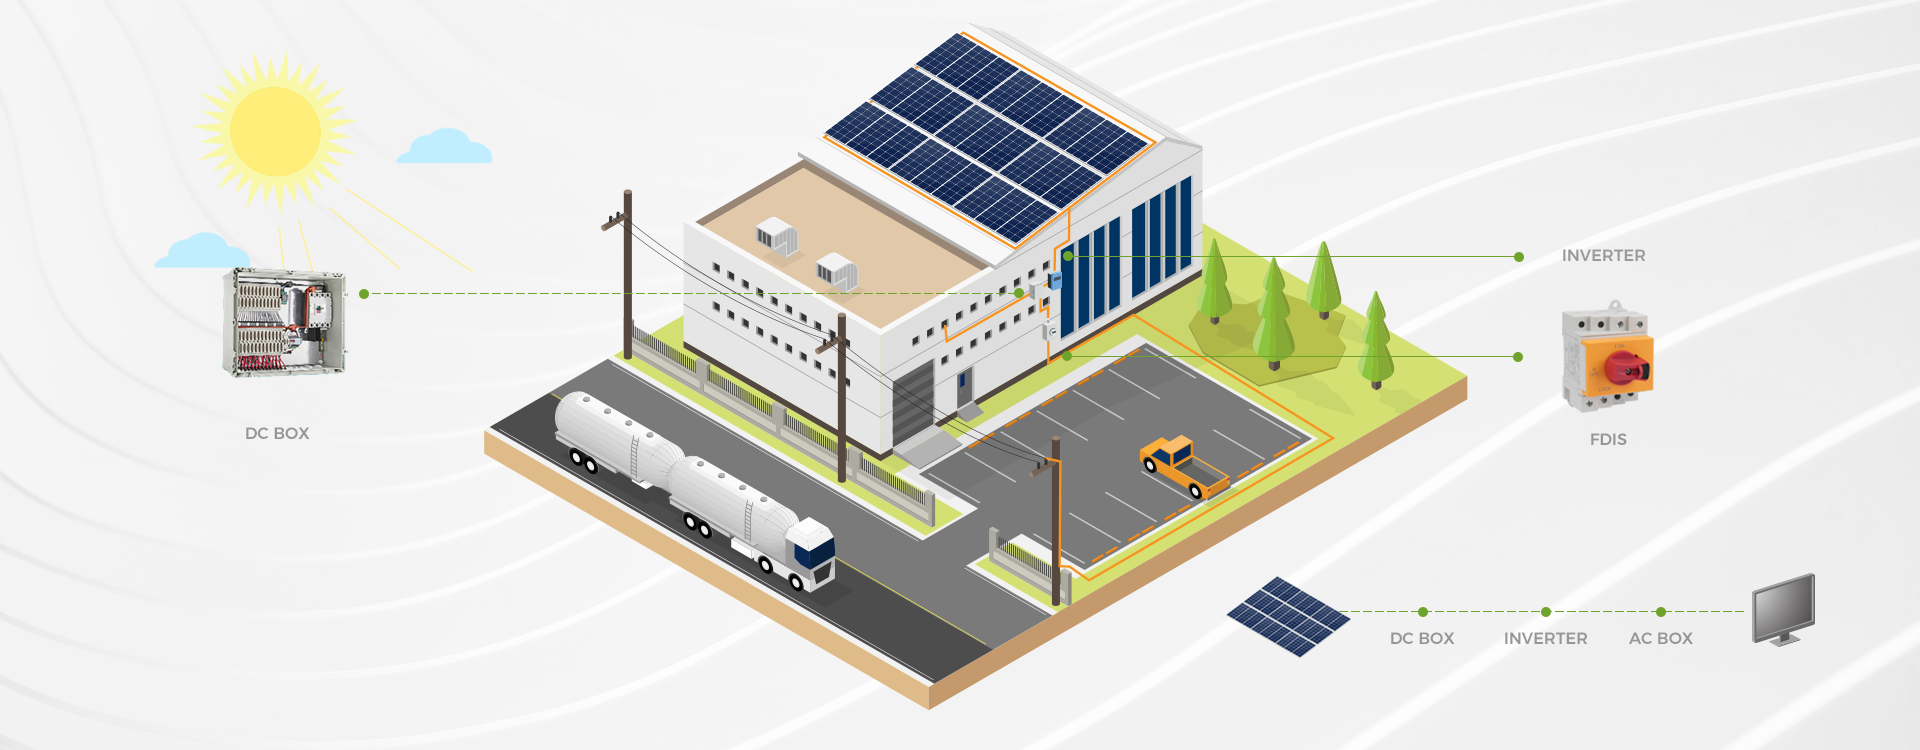
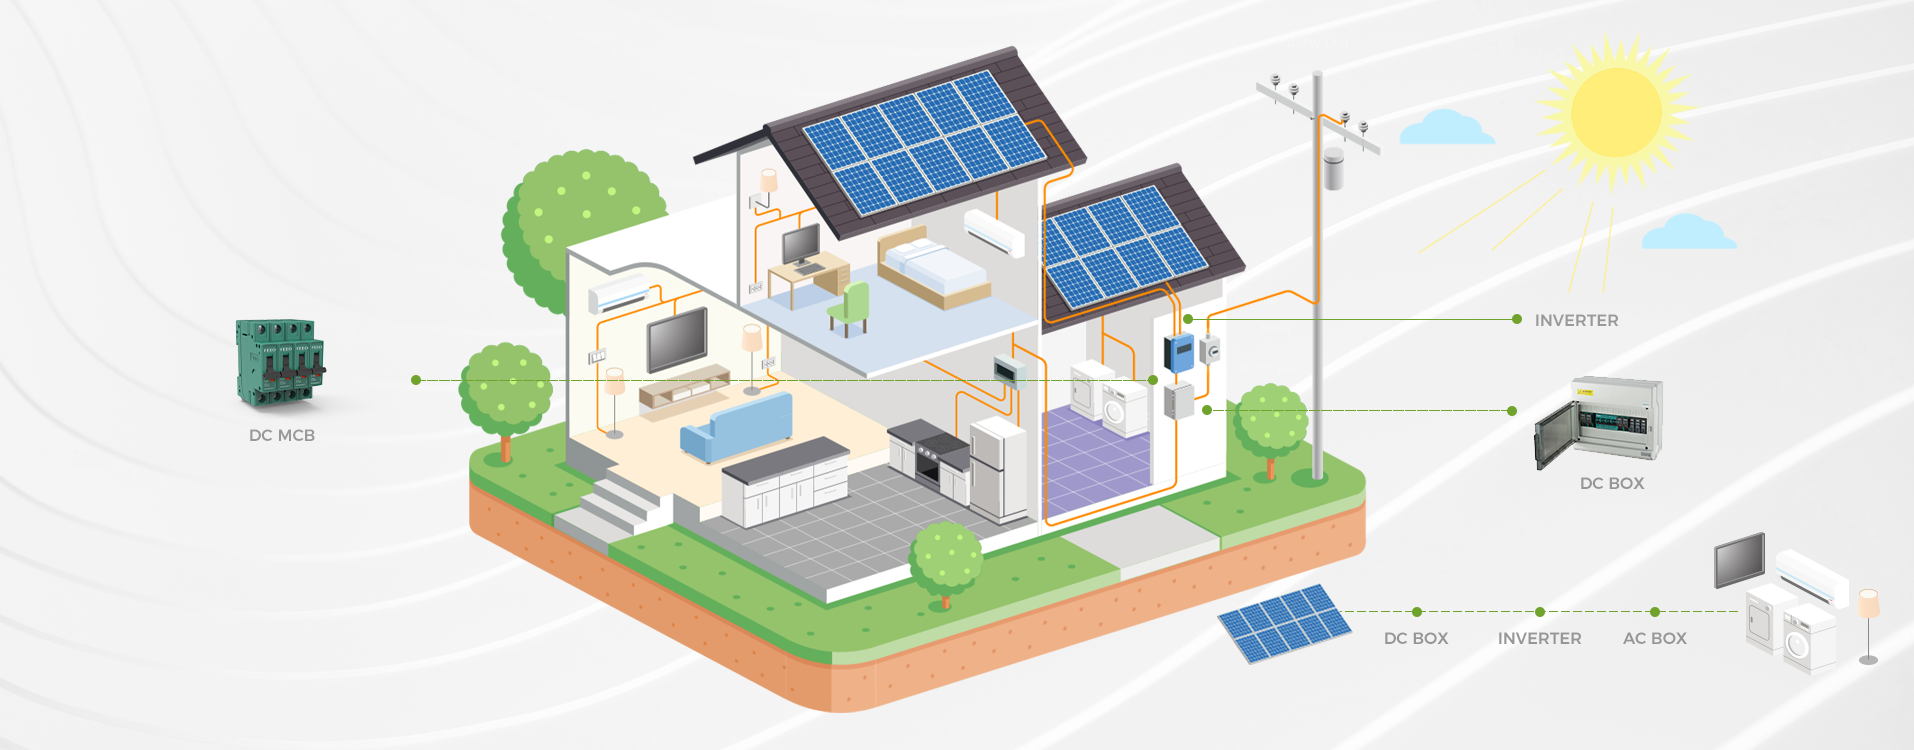
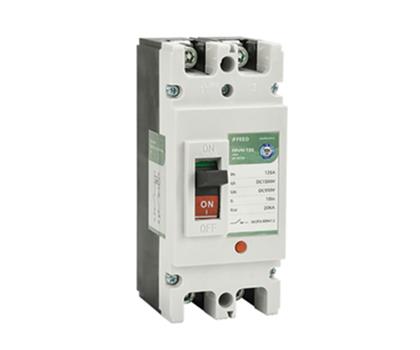
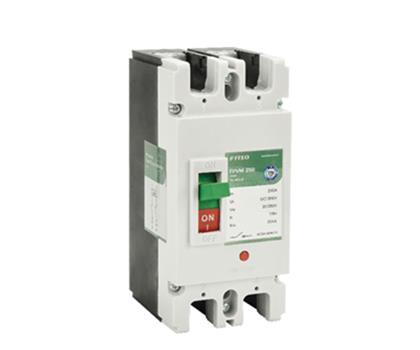
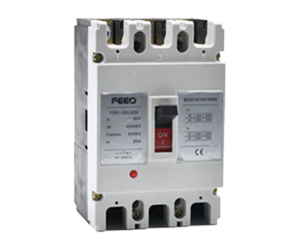
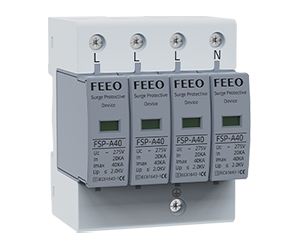
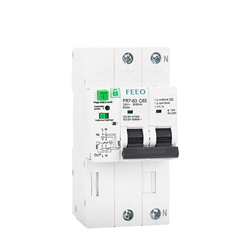
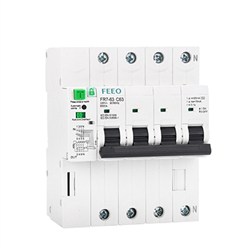
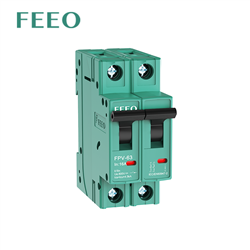
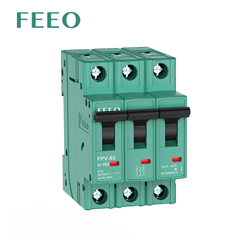
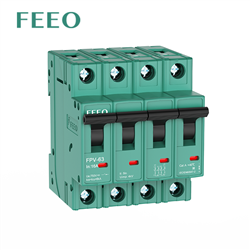
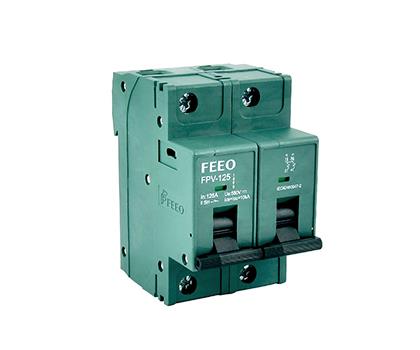
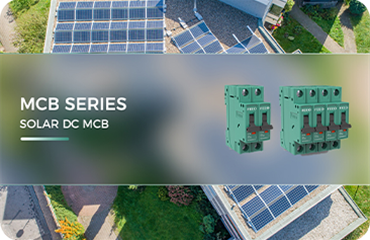
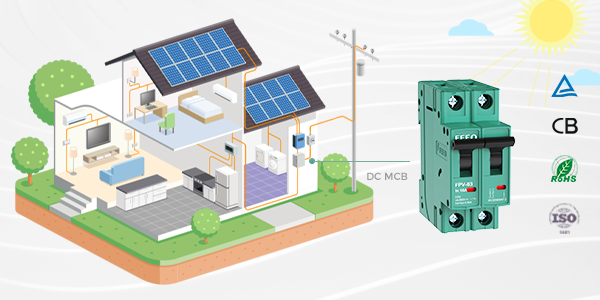
A disconnect or isolator switch is an electrical device engineered to safely and efficiently disconnect electrical circuits, thus protecting the equipment and individuals working with it. In solar energy systems, these switches are used to separate photovoltaic (PV) panels, inverters, and battery banks from the grid or other electrical loads. This ensures that maintenance, repair, or other adjustments can be performed safely without the risk of electrical shock or damage to the equipment.
How Do Disconnect Switches Work?
The primary principle behind disconnect switches is the physical separation of electrical contacts when the switch is in the "off" or "open" position. This separation creates an air gap that interrupts the flow of electrical current in the circuit. The air gap acts as an insulator, preventing the flow of electricity and ensuring that the system is fully isolated from any voltage or current. When the switch is in the "on" or "closed" position, the electrical contacts are connected, allowing the flow of current and enabling the system to function normally.
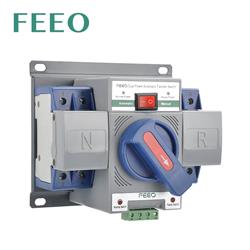
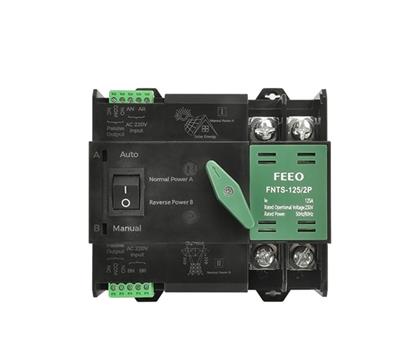
There are various types of disconnect switches, including manual and automatic options. Manual disconnect switches necessitate an operator to physically switch them on or off, while automatic switches are electronically controlled and can be operated remotely. Both types serve the same primary purpose of isolating the electrical system for safety and maintenance purposes.
Wiring a Disconnect Switch
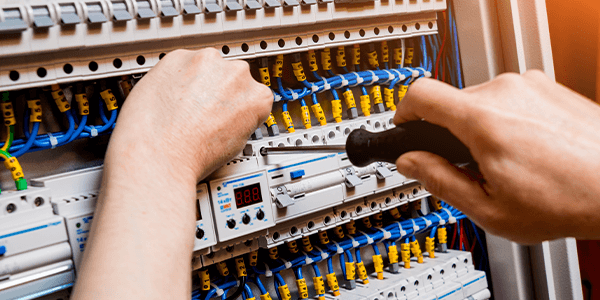
Correctly wiring a disconnect switch is essential to ensure the switch functions safely and effectively. It's crucial to follow the manufacturer's instructions and any applicable electrical codes in your area when wiring a disconnect switch. Here is a general outline of the process:
-
Power off the system: Before attempting to wire a disconnect switch, always ensure that the power source is turned off to avoid the risk of electrical shock.
-
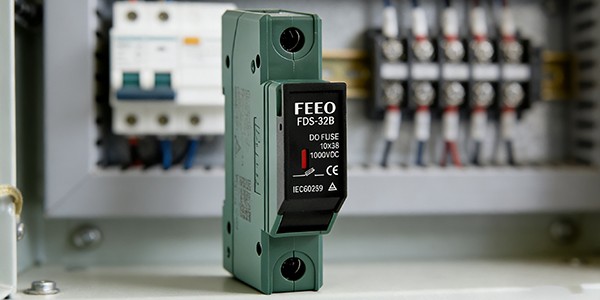
Select the appropriate disconnect switch: Choose a disconnect switch with the suitable voltage and current ratings for your solar energy system. The switch should also be compatible with the type of wiring used in your installation.
-
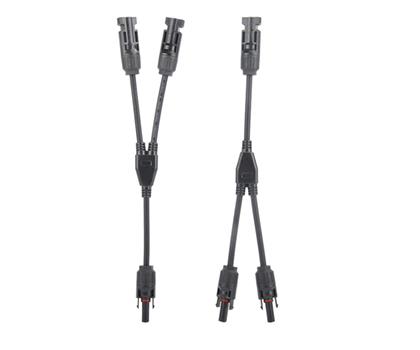
Connect the wires: Disconnect switches typically have terminals labeled "input" and "output." The input terminals should be connected to the source of electrical power (e.g., PV panels or the grid), while the output terminals should be connected to the electrical load (e.g., the inverter or battery bank).
-
Ensure secure connections: Check that all wiring connections are properly tightened and secured. Loose connections can lead to arcing or overheating, which could pose a safety risk.
-
Test the switch: After wiring the disconnect switch, power up the system and test the switch to ensure that it is functioning correctly. This will confirm that the switch is wired correctly and is capable of isolating the electrical system as intended.
Installing a Disconnect Switch
Once the disconnect switch has been correctly wired, it's time to install it in your solar energy system. The following are the general steps to follow:
-
Determine a suitable location: The disconnect switch should be installed in an easily accessible location for maintenance and operation. It should also be situated in an area with enough space for proper ventilation and heat dissipation.
-
Attach the switch: Use the appropriate mounting hardware to securely fasten the disconnect switch to a wall, panel, or other suitable surface. Make sure the switch is level and firmly secured to avoid any movement or vibrations during operation.
-
Connect the wiring: Route the wiring from the input and output terminals of the disconnect switch to the relevant components of your solar energy system, such as the PV panels, inverter, or battery bank. Ensure that the wiring is properly routed and secured to avoid any potential hazards or interference with other equipment.
-
Label the switch: Clearly label the disconnect switch with its intended purpose and any necessary operating instructions. This will help ensure that anyone working with the system understands the function of the switch and how to operate it safely.
Using a Disconnect Switch
Operating a disconnect switch is relatively simple. When you need to isolate a section of your solar energy system for maintenance, repair, or other adjustments, switch the disconnect to the "off" or "open" position. This will disconnect the electrical contacts within the switch, creating an air gap and preventing the flow of electricity through the circuit. When work is complete and it's safe to restore power, switch the disconnect back to the "on" or "closed" position, reconnecting the electrical contacts and allowing current to flow once again.
Always exercise caution when operating a disconnect switch and follow any safety guidelines or instructions provided by the manufacturer